Nested Content & Grid in Umbraco
Nested Content & the Grid editor are commonly used features of Umbraco. So when do you use which? How do they work? What are the pros and cons?

Nested Content and the Grid editor in Umbraco are used very often. But how do you decide which one to use and how do you use them? Both features can be of great value when establishing the back office for a new website. In this blog, I’m going to show you how to work with both. Based on examples, I’ll explain the way each tool works.
What is Nested Content and how can it be used?
Actually, using Nested Content is no different from reusing the document types you’ve already defined, but as a sort of list. During a default installation of Umbraco you have the possibility to install a starter kit. If you’ve chosen to install the starter kit, a couple of document types and pages will already have been created.
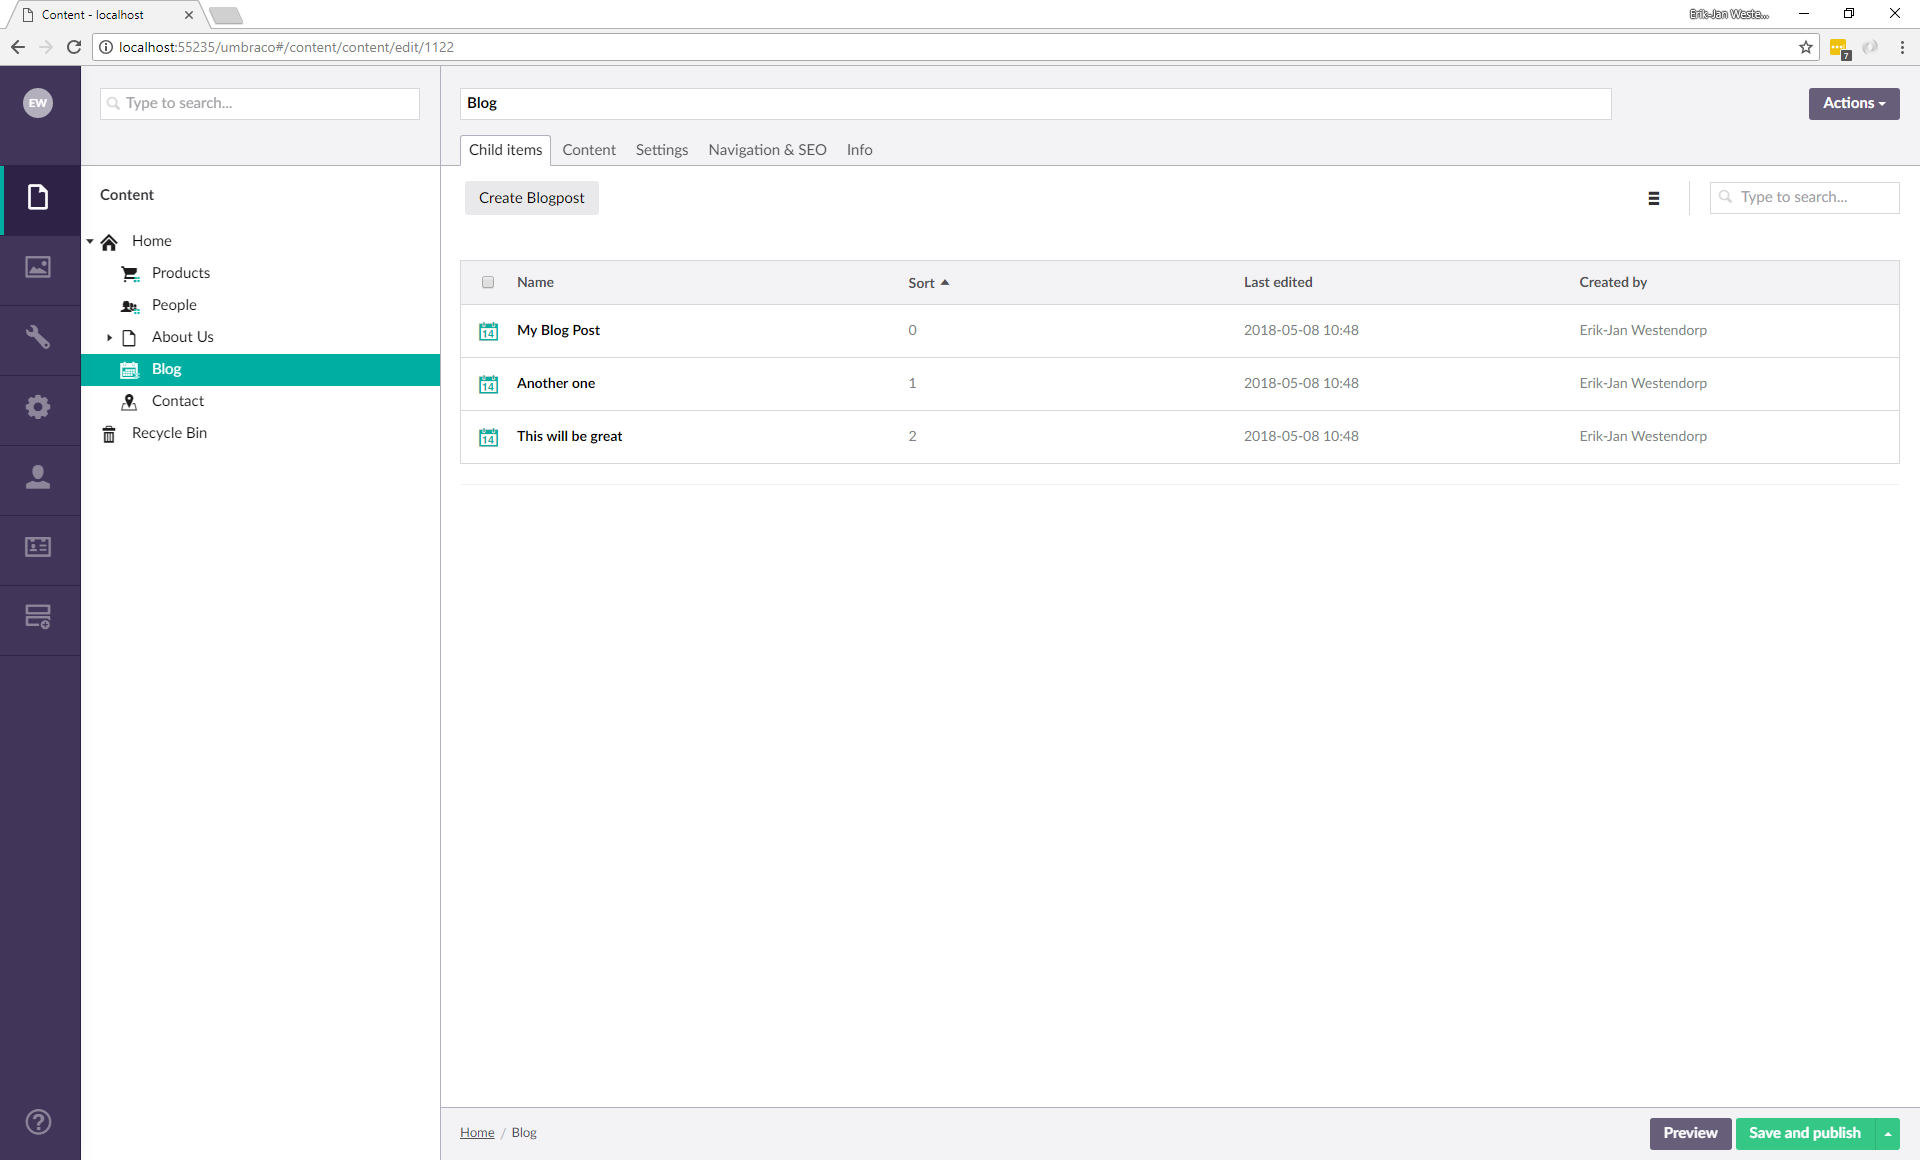
In the content section you should see a couple of pages. One of these pages is the Blogs page, this is an overview page of all blog posts on the website. See the images below for a preview.
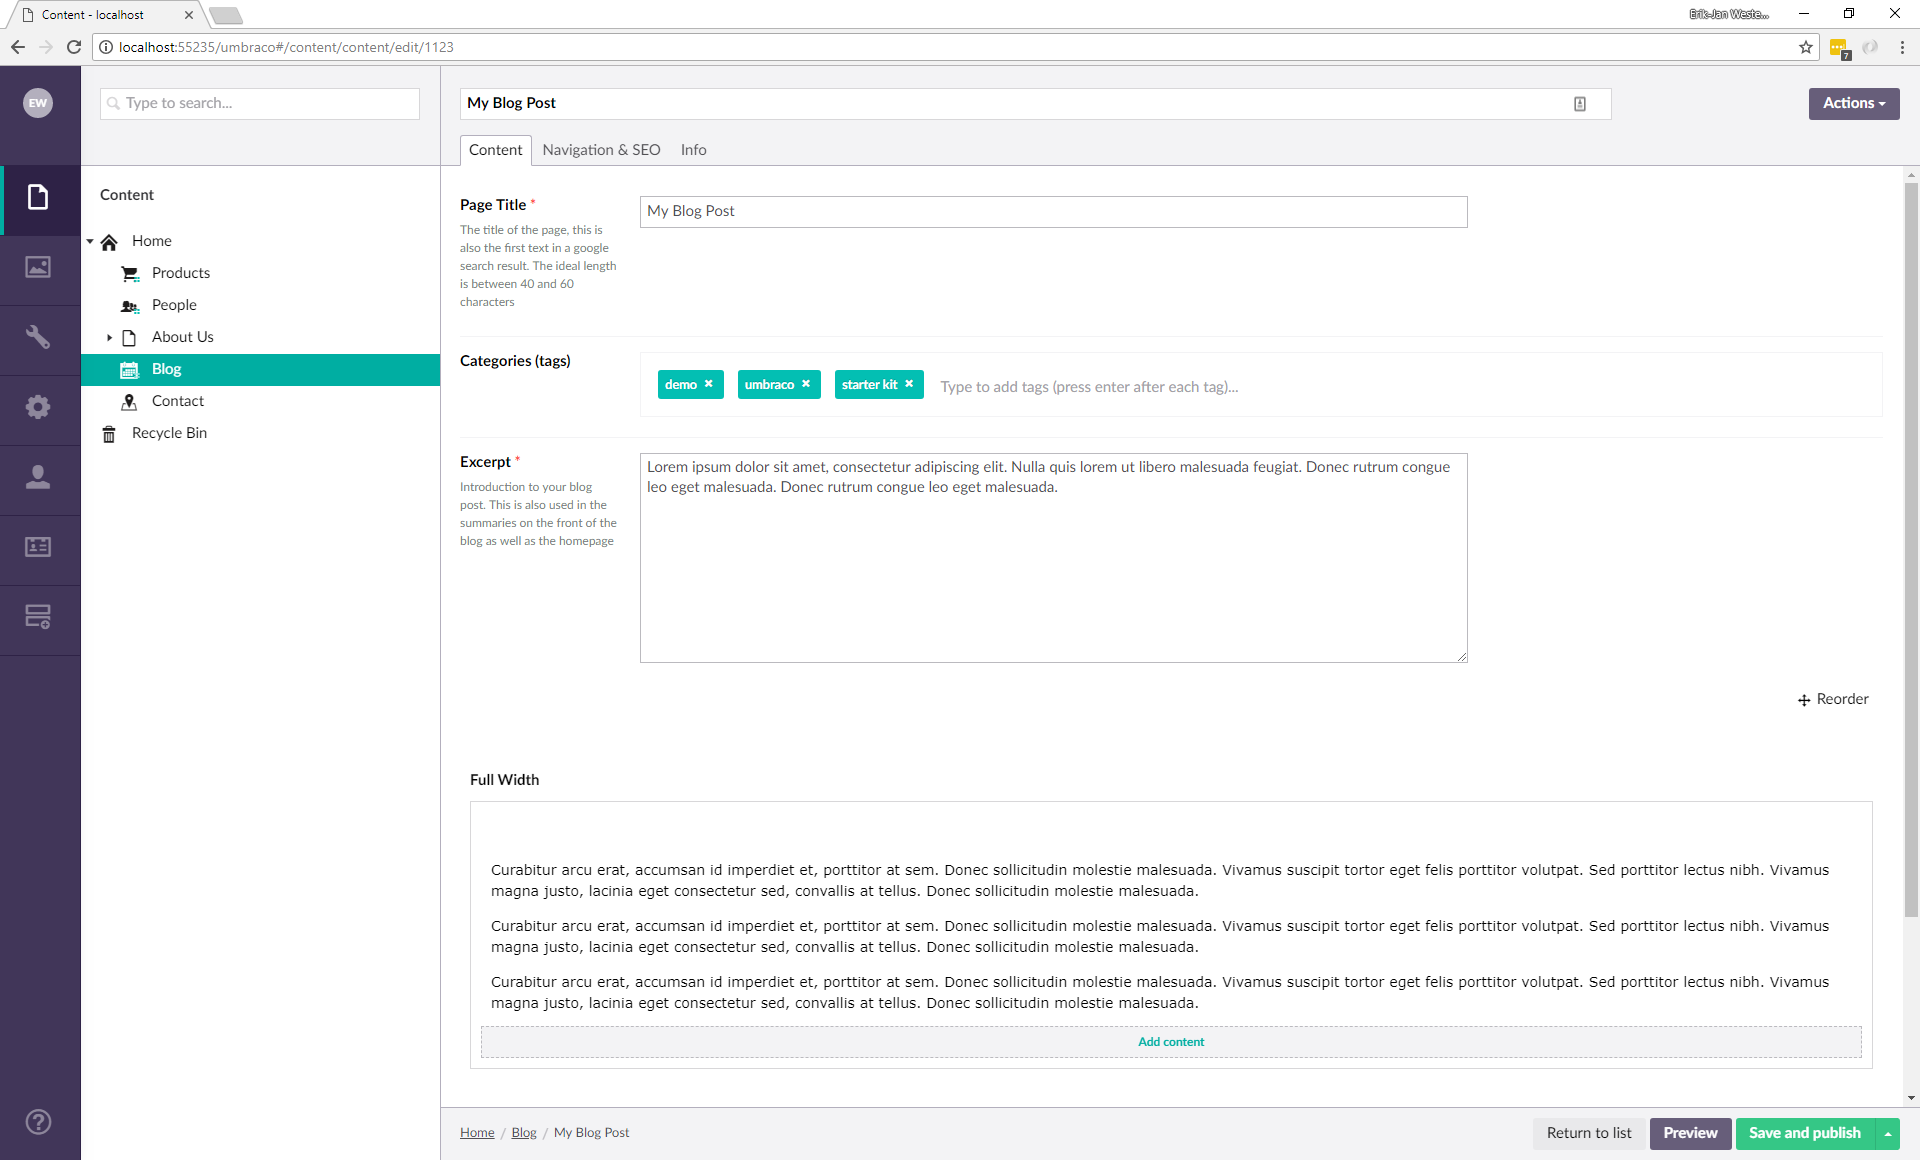
In the image below you can see a default blog post after an Umbraco installation.
It would be great if a content editor has the option to expand a blogpost. You could do this by giving the editor the option to refer to other content that is related to the blogpost. It could be done by using Nested Content.
Navigate to the settings section of Umbraco. In this section you can find all of the document types that have been defined. Create a new directory called Nested Content. Once you’ve done that, create a document type and name it “Related content”. Give the document type you have just created the following three properties:
Title – Textstring
Link – Content picker
Image – Media picker
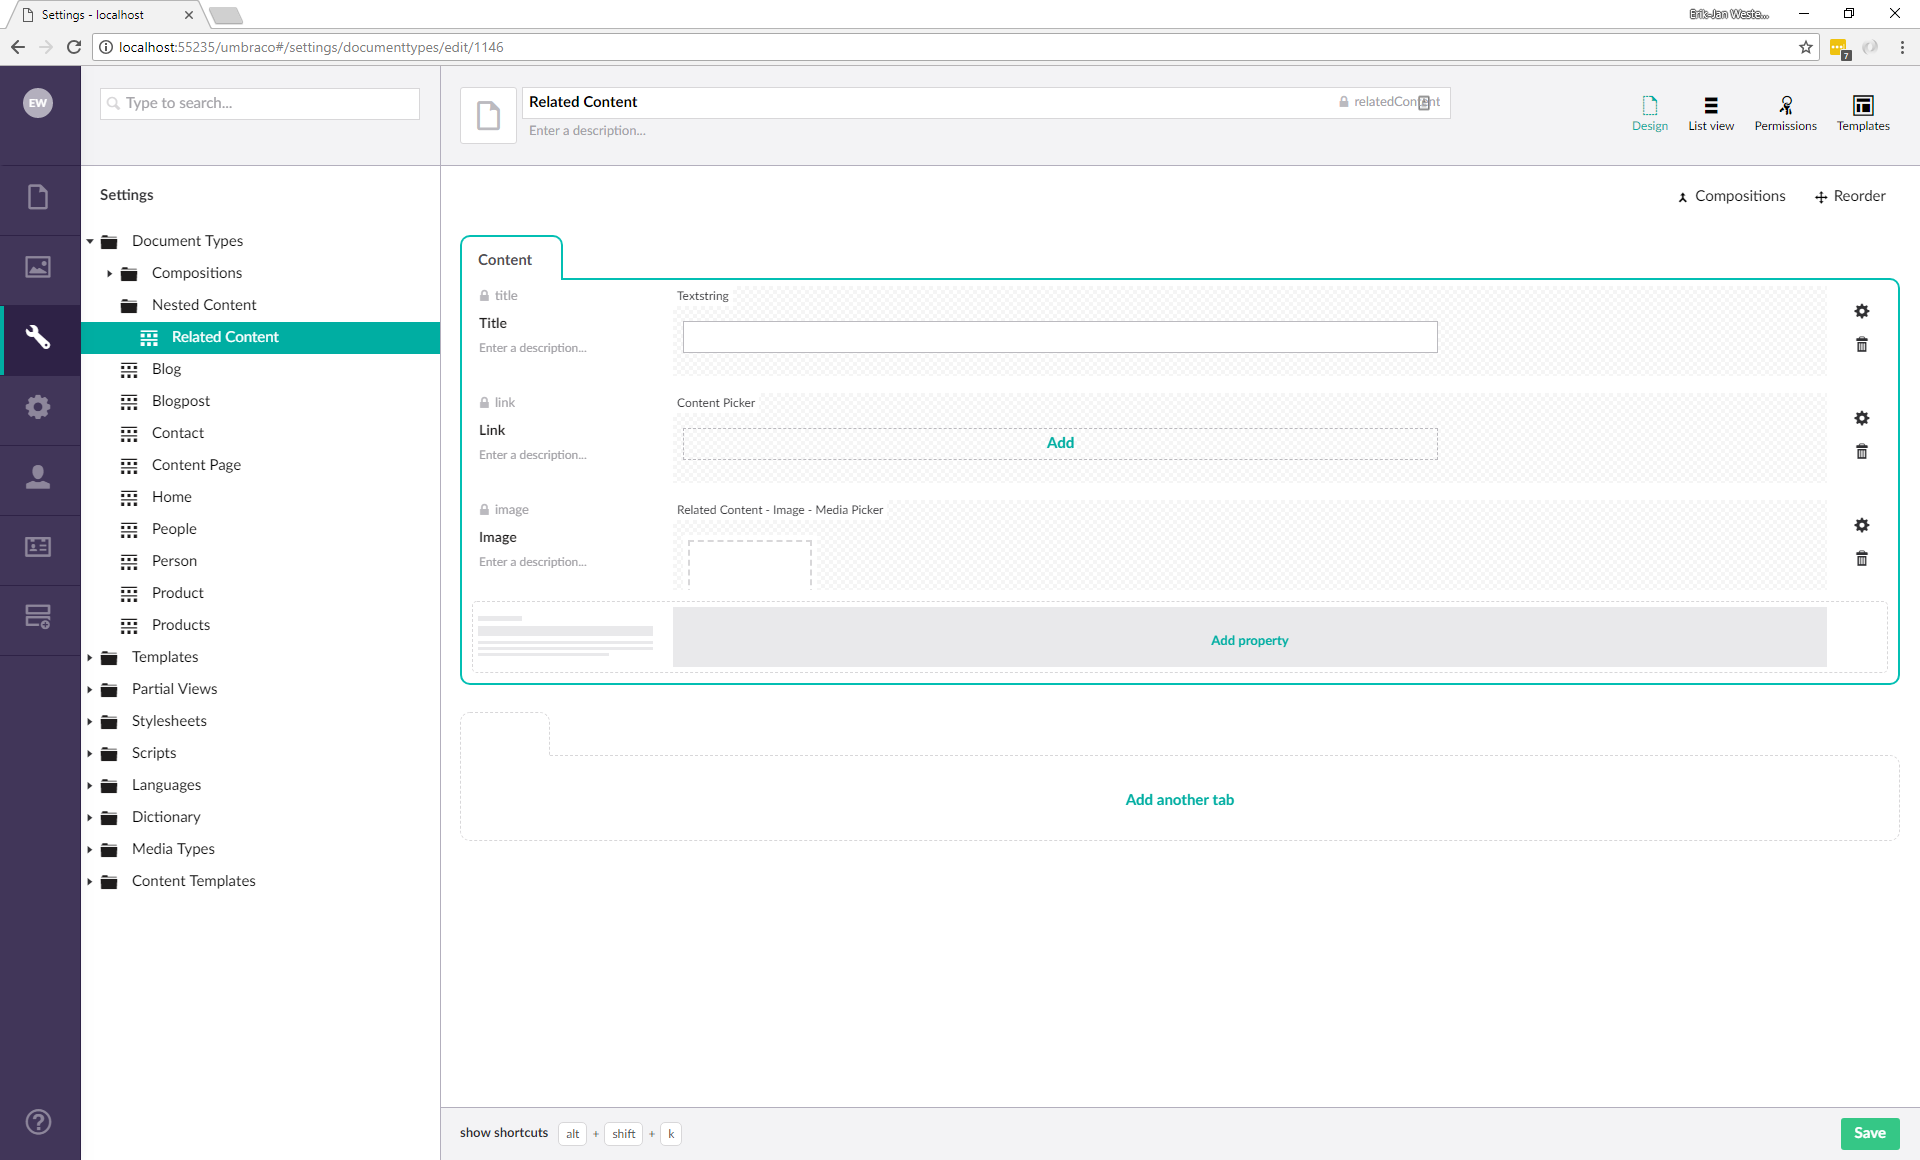
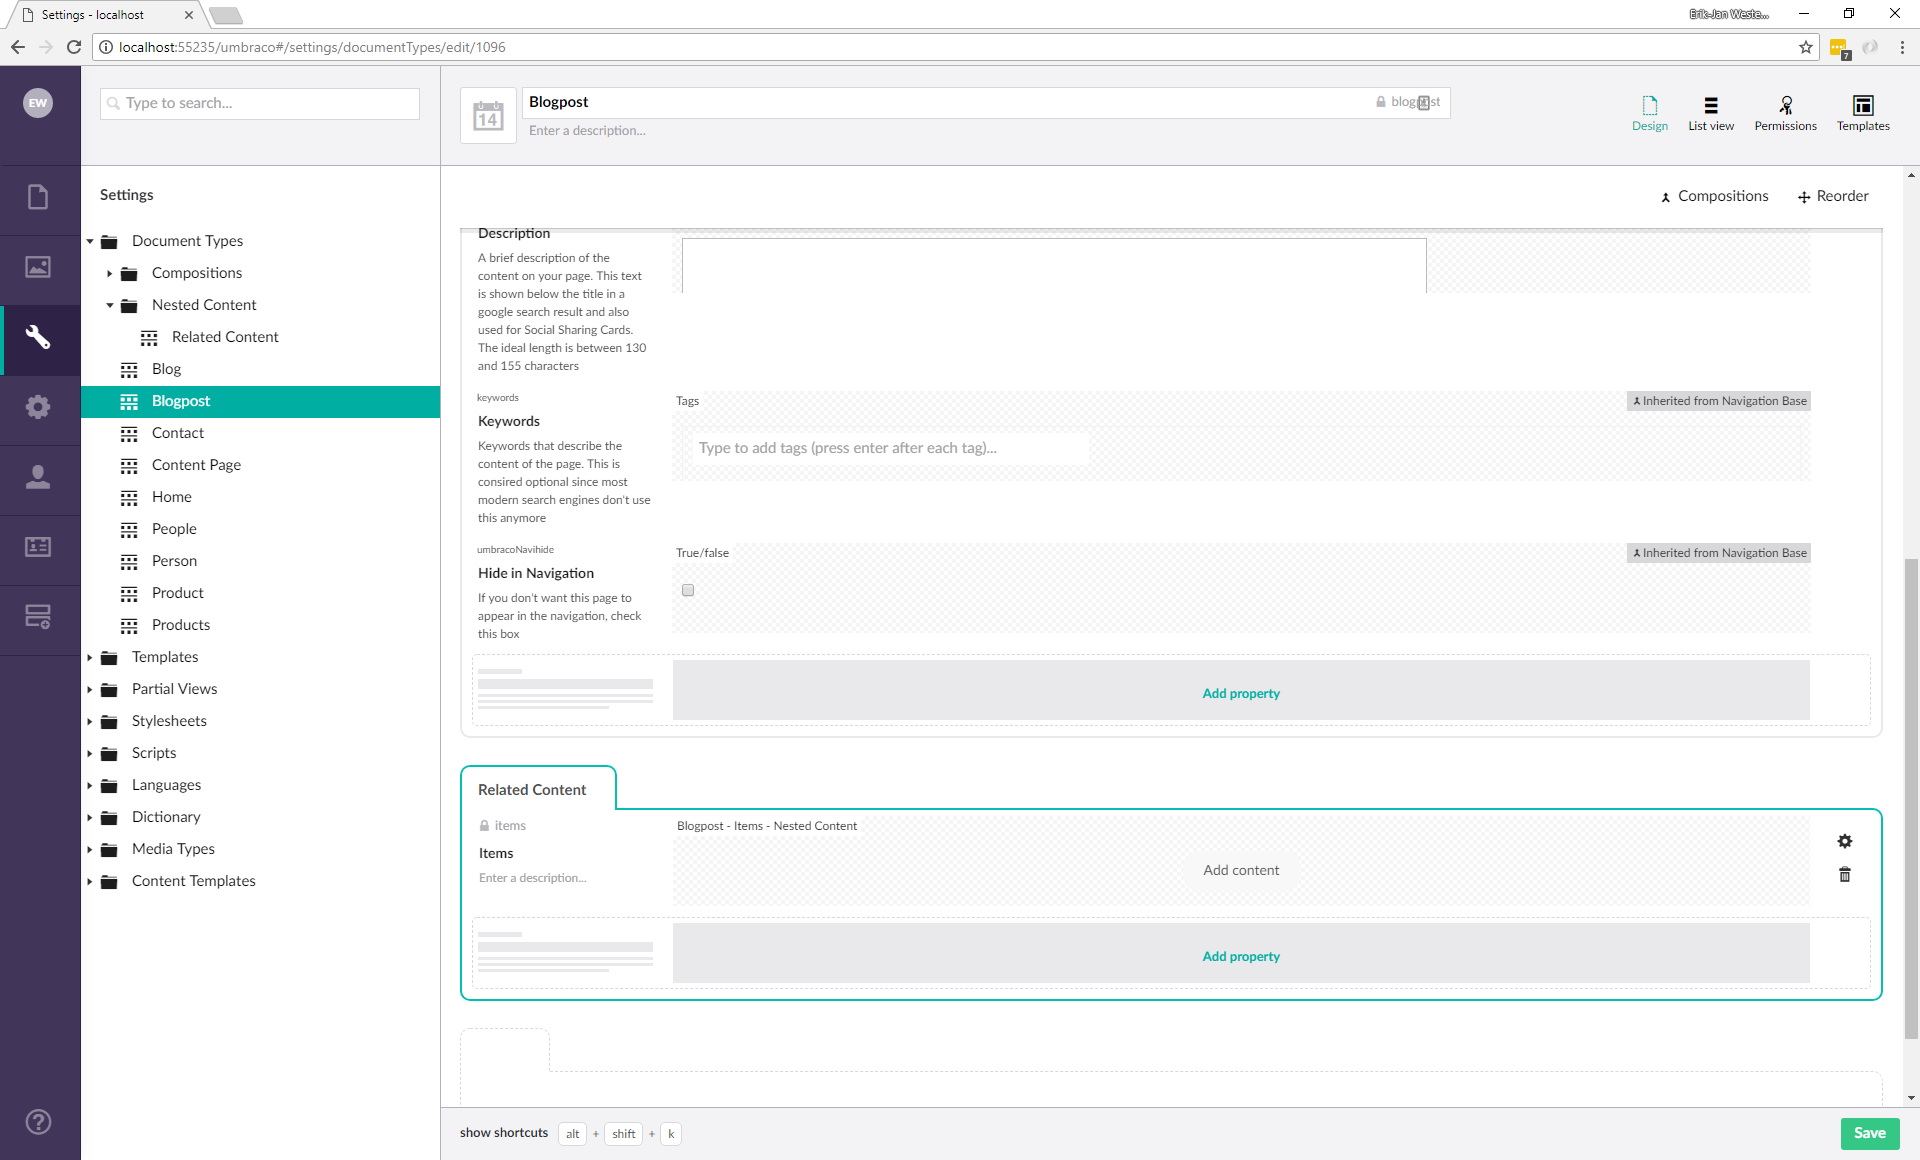
The next step is to expand the existing document type so that it will be possible to add the related content to a blogpost. Go to the document type blogpost and add a tab called related content. Within the tab, add a property of the Nested Content type to it. See the image below for an example.
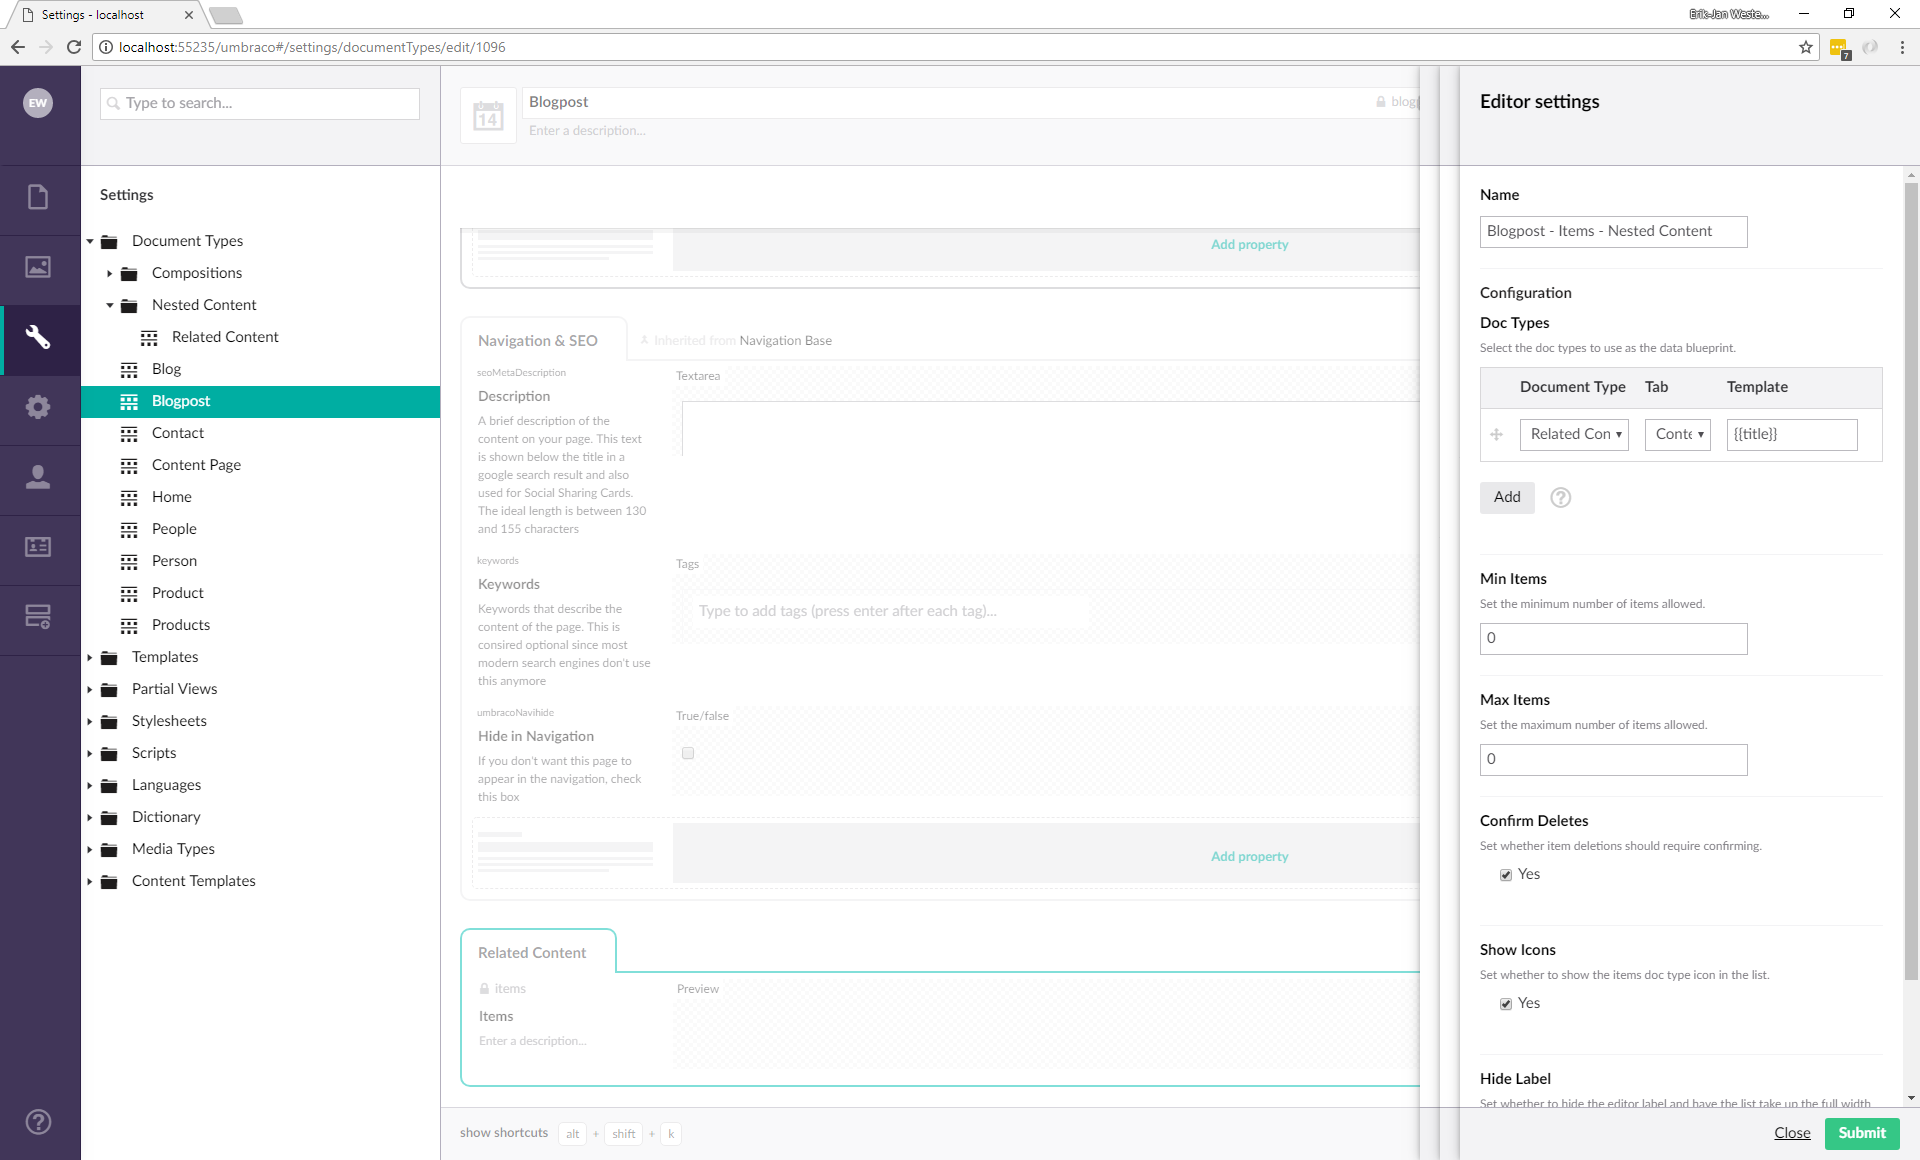
As you can see in the image above, Nested Content has a number of properties. The desired document type can be chosen, the minimum and maximum amount of items can be set, you can configure whether it is allowed to delete items and whether the icon should be shown. Finally, it’s also possible to show or hide the label.
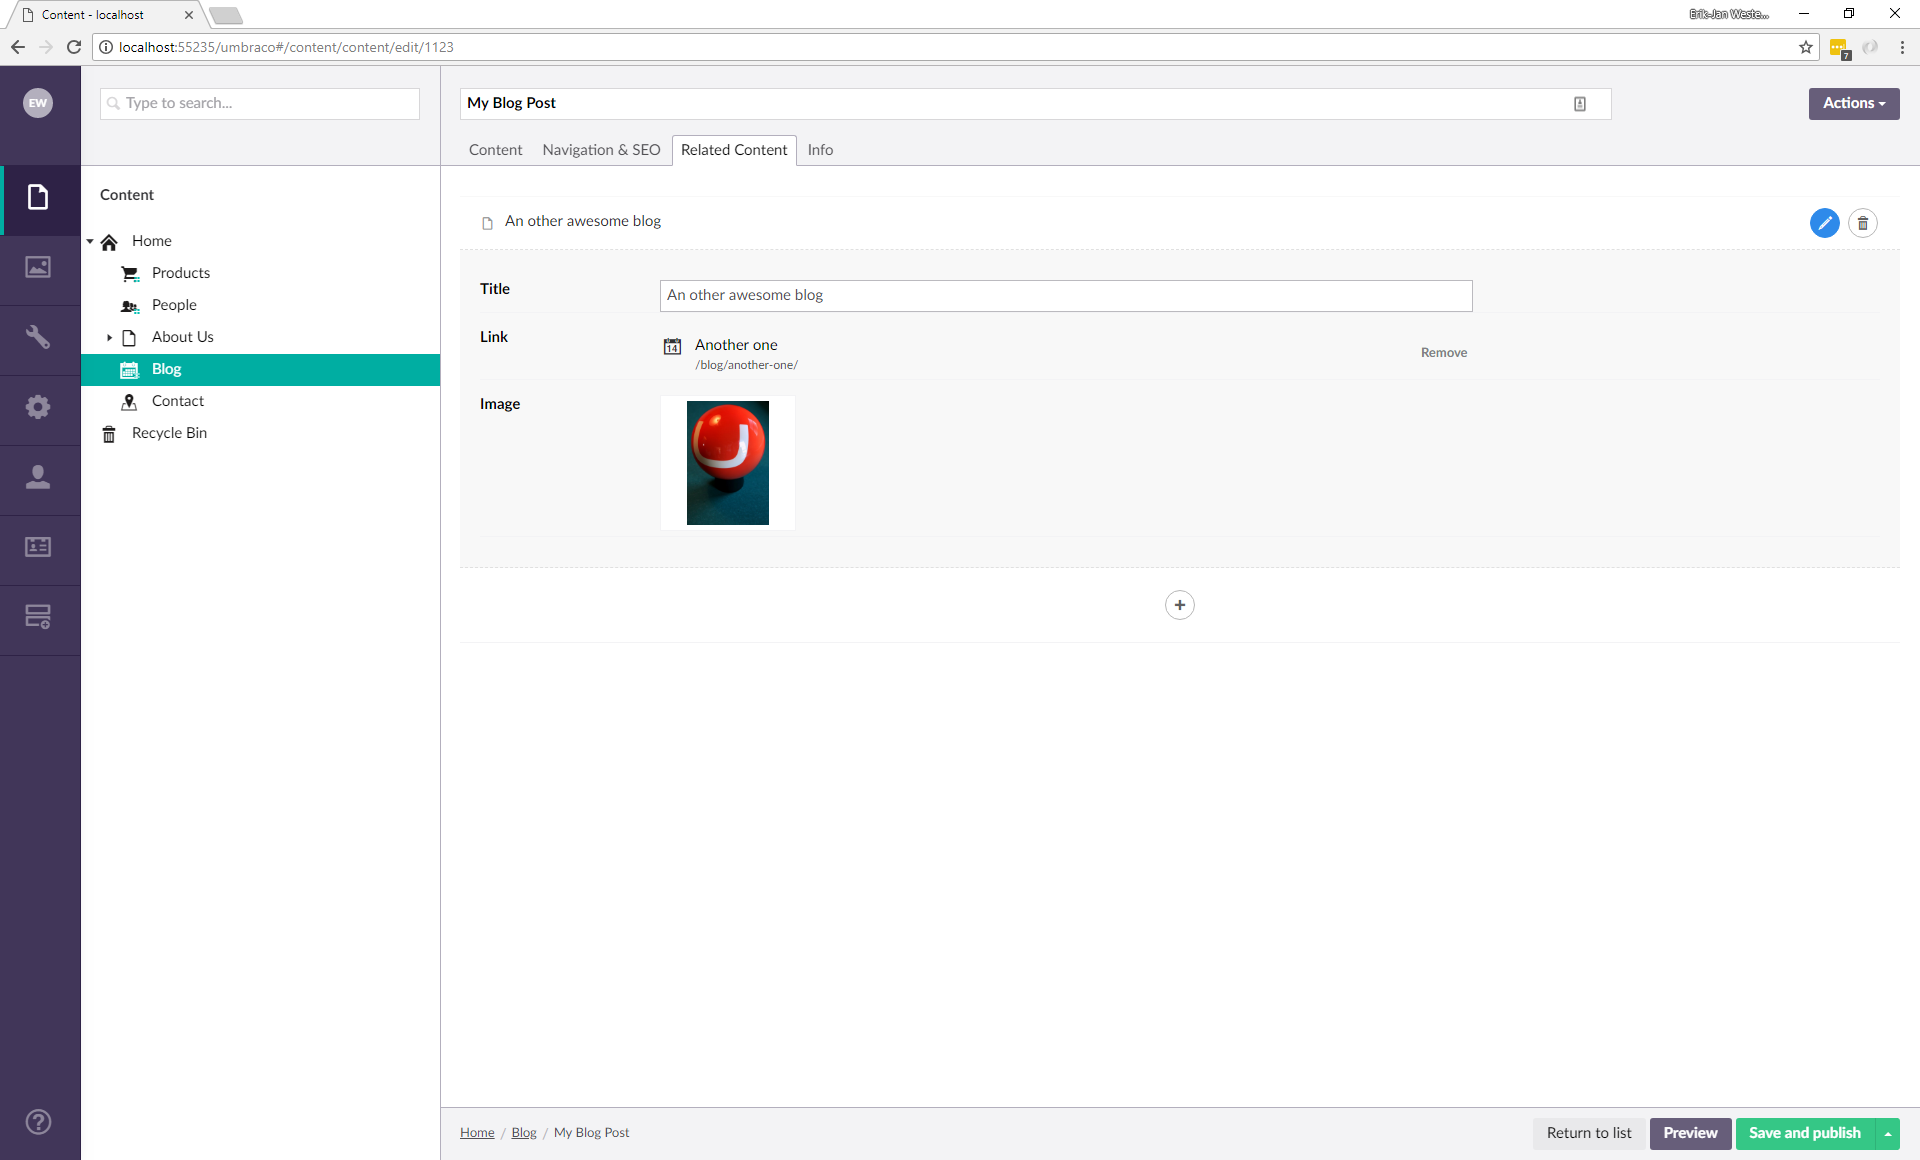
After adding the nested content of type related content, it is really easy for a content editor to add related data to a blog post. Navigate to a random blog in the content section of Umbraco to see what has been changed. As you can see in the image below, the related content tab has been added.
Grid Editor
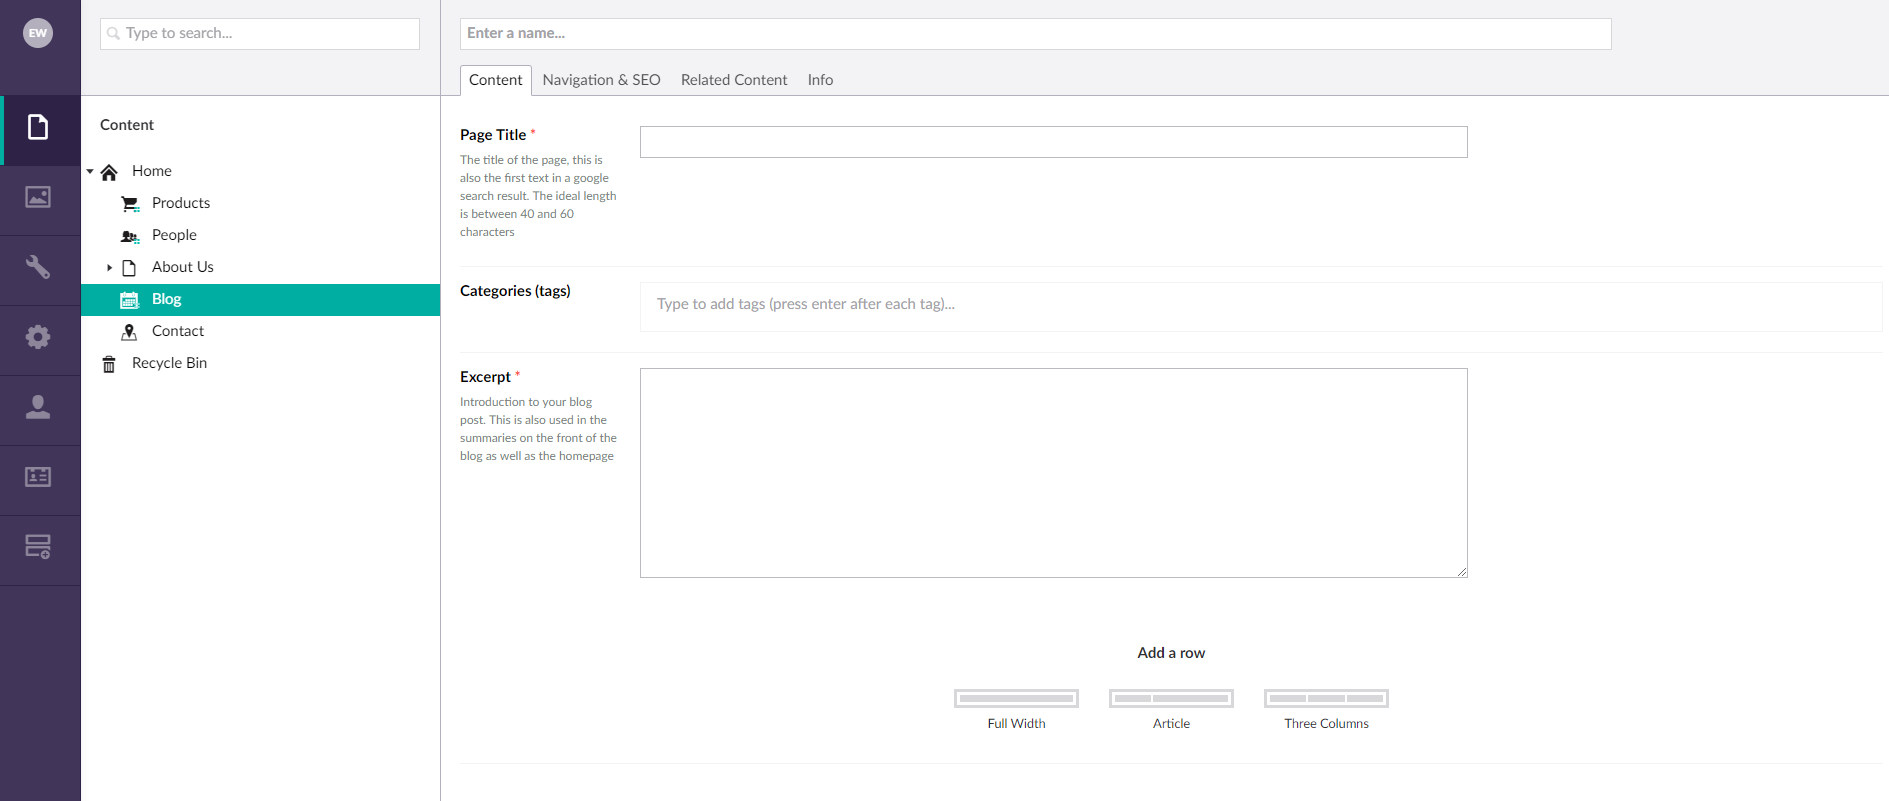
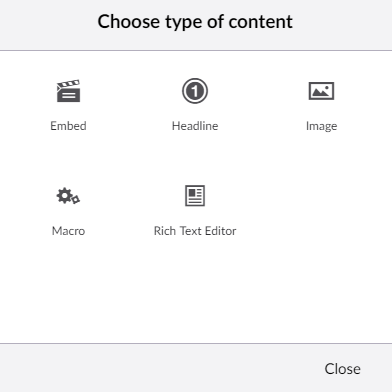
As mentioned before, we’re using the starter kit. Just like the nested content example, we can use the created document types and pages to show, in this case, the working of the grid editor. Navigate to a random blog again. When adding content, the grid editor can be used. The grid editor will have been configured already. In case of this configuration, a content editor can use a Full Width row or a row with two or three columns. You can see a preview in the image below.
By using a grid editor, a content editor has a lot of freedom when creating a page layout. The benefit is that pages can be created in many ways.
On the other hand, it might be possible that a content editor has too many choices. That’s easy to solve by configuring the settings the right way. Navigate again to the blog post document type in the settings section of Umbraco. In the content tab you can see a property called bodyText. This property can be configured by pressing the settings icon. After clicking the settings button, you should see a screen like the image below.
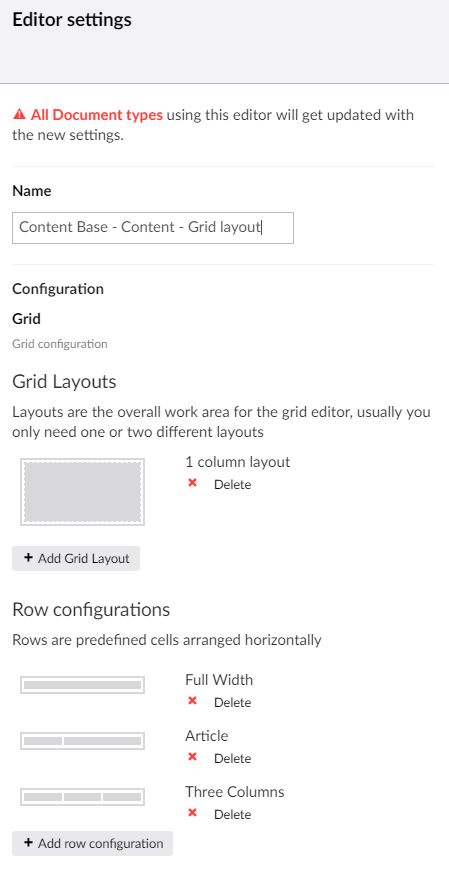
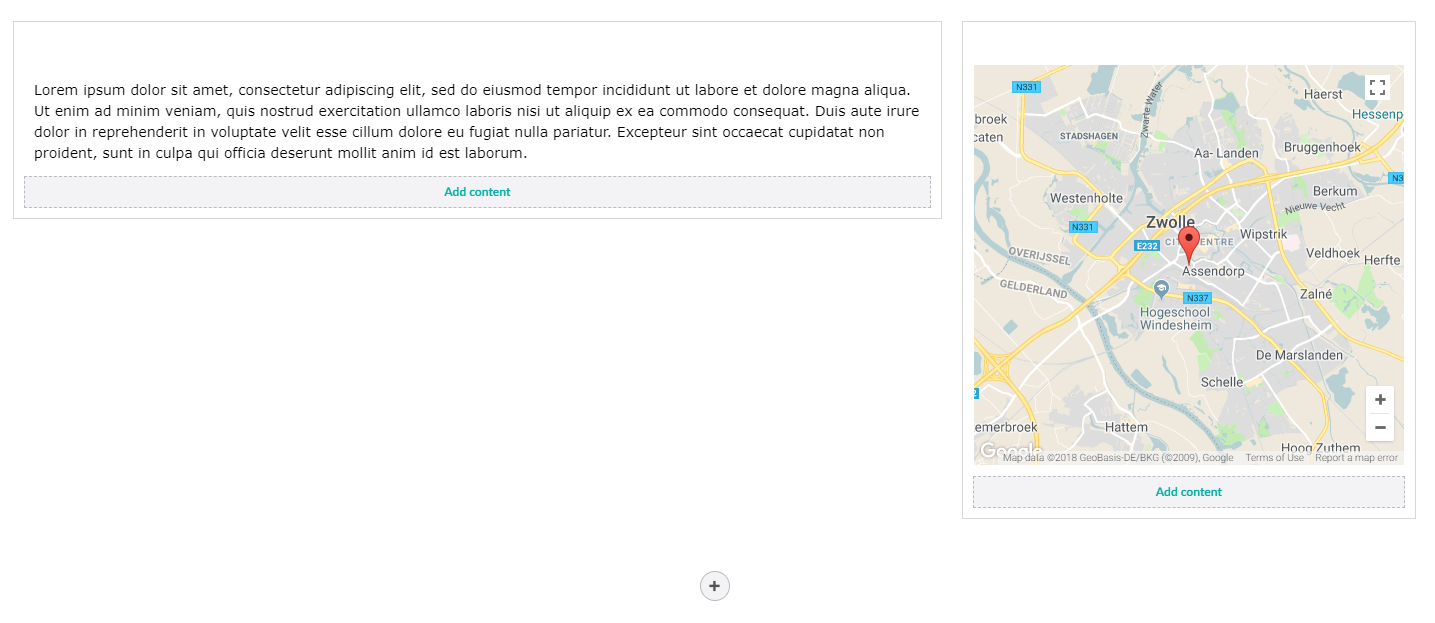
The first thing you see is ‘row configurations’, which corresponds to what you saw when you created the blog post. Imagine if a content editor complained about the amount of choices he/she has in the grid layout. Also, content editors like having the option to add a location to the blog post. You could ‘solve’ this easily by giving the ability to just work with one or two columns.
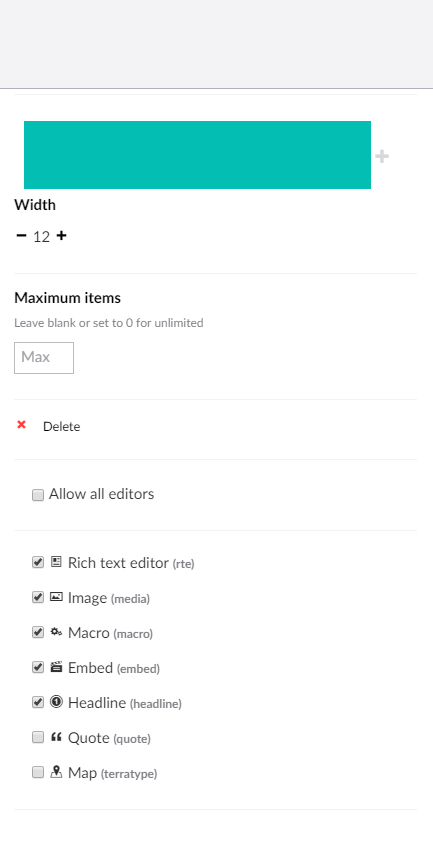
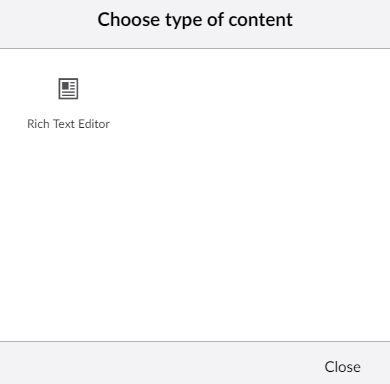
We will create three rows. The first row is one column that spans the full width of the page. We already had a full width configuration, but to make it easier for the content editor, we will simplify the configuration a bit. As you can see in the image below, an editor can use almost any kind of editor. Because of the complaint about the amount of possibilities, we will switch off all types of editors except for the rich text editor.
Change the existing row configurations as below.
Rij 1
Name/Label: Full width
Width: 12
Editors: Rich text editor
Rij 2
Name/label: two columns
Width 4 + 8
Editors:
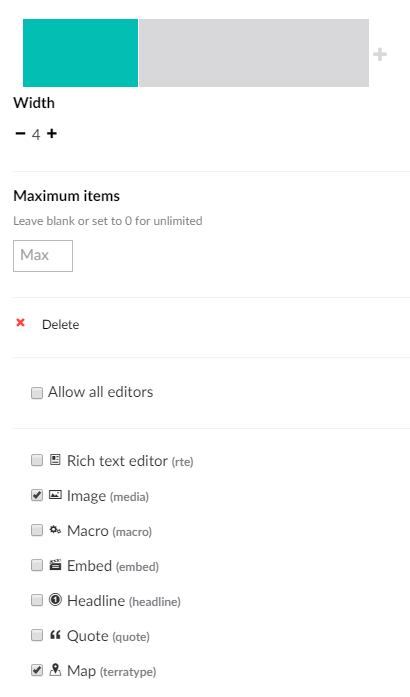
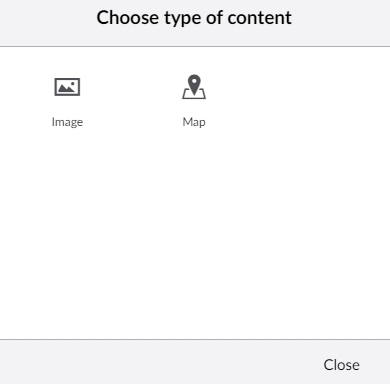
Column 1: Image and Map
Column 2: Rich text editor
Rij 3
Name/Label: Fifty fifty
Width: 6 + 6
Editors:
Column 1: Rich text editor
Column 2: Image and map
Finally, the configuration should look like the images below.
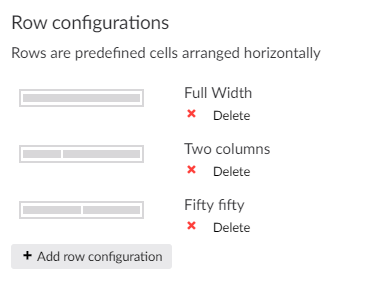
By making a number of small changes, it will be much clearer for a content editor. The content editor only sees the options he/she really needs for creating a blog post.
And in the content section of Umbraco.

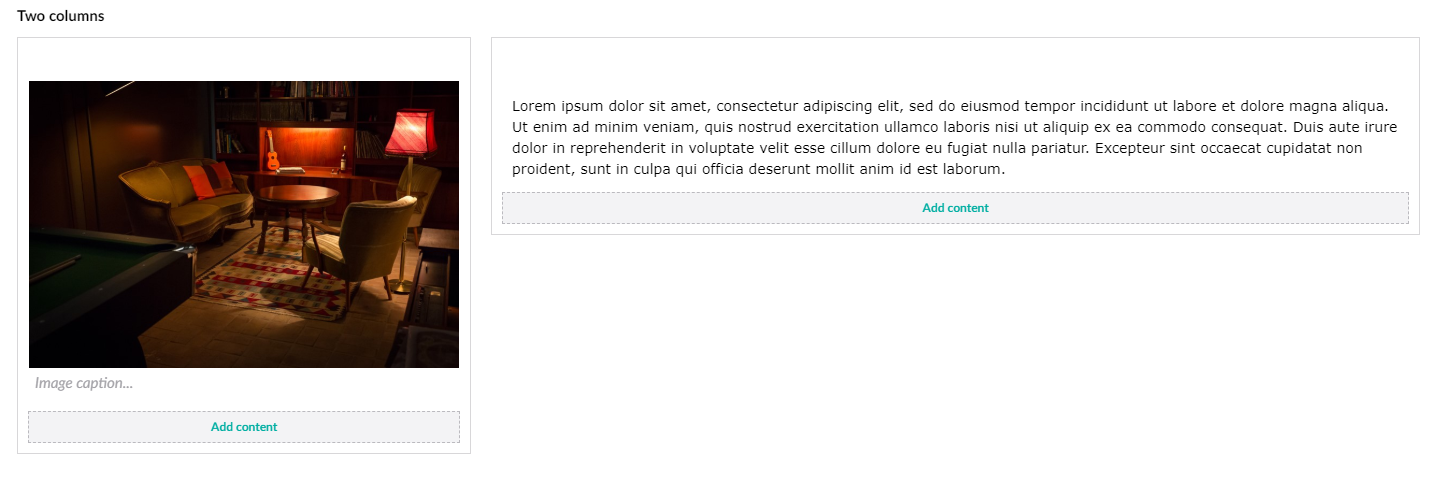
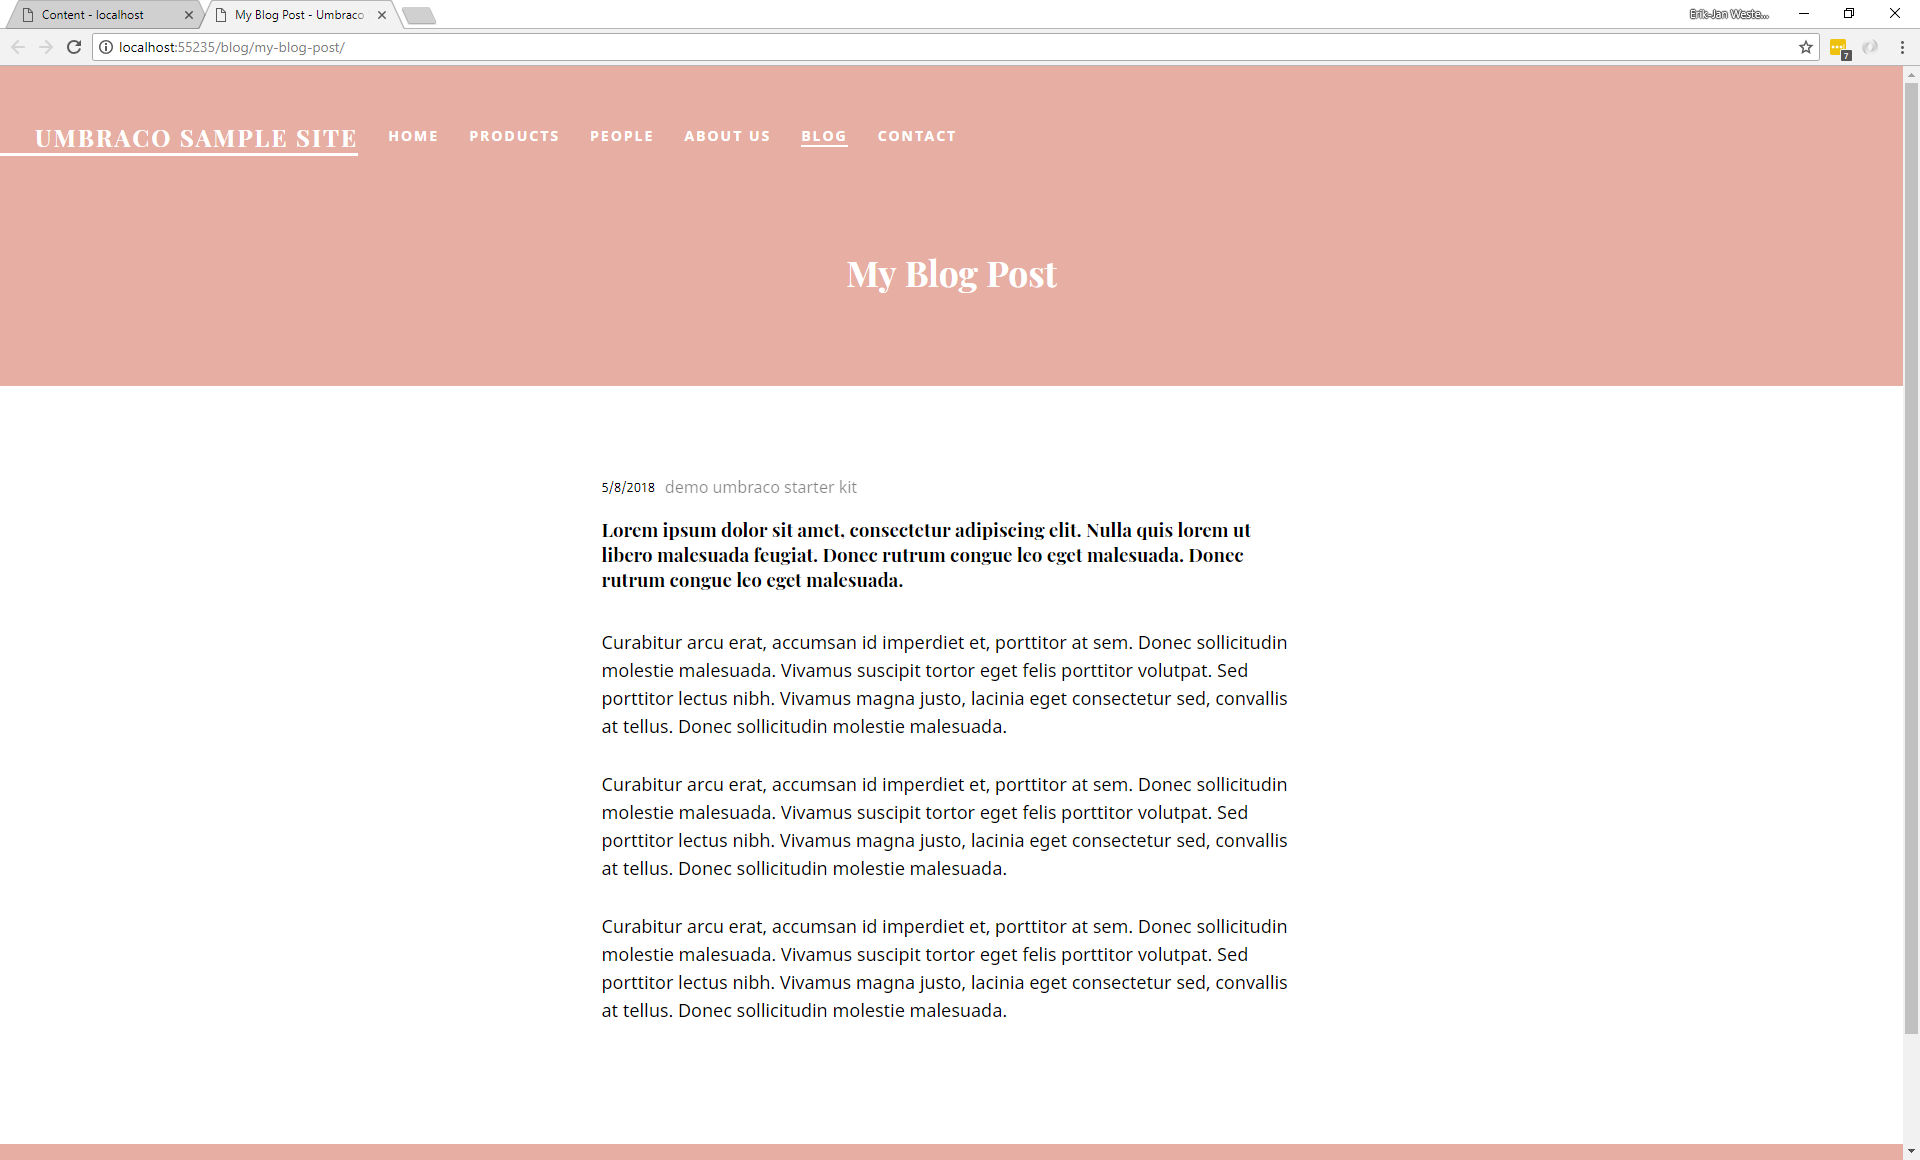
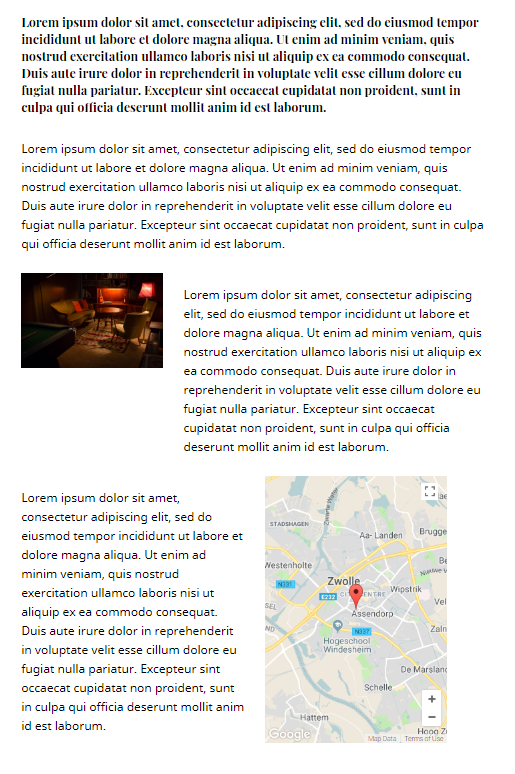
Front-end result:
Pros and cons
Of course, there are a number of pros and cons to both a grid layout and nested content. The GRID-editor is a real WYSIWYG-editor. You do not have to do anything for it. It’s really easy to configure and you only have to add little to no custom styles. This is because of bootstrap, which is used by the GRID-editor. This can also be a disadvantage when you want to add your own customized style. One benefit of the GRID is that it will automatically take care of responsiveness. The last important advantage is the freedom of a content editor, which, as mentioned, could be a disadvantage as well. It could be a disadvantage for editors who don’t have any or just a little experience with Umbraco. They might do something unexpected or they are more or less overwhelmed by the amount of options.
In summary, Nested Content and the GRID-editor are both powerful tools but remember well when you have to use which one. Always take into account the wishes of the people who actually use the website as much as possible. They are the ones who have to work with it every day and if something does not work as it should, this could cause a lot of frustration.